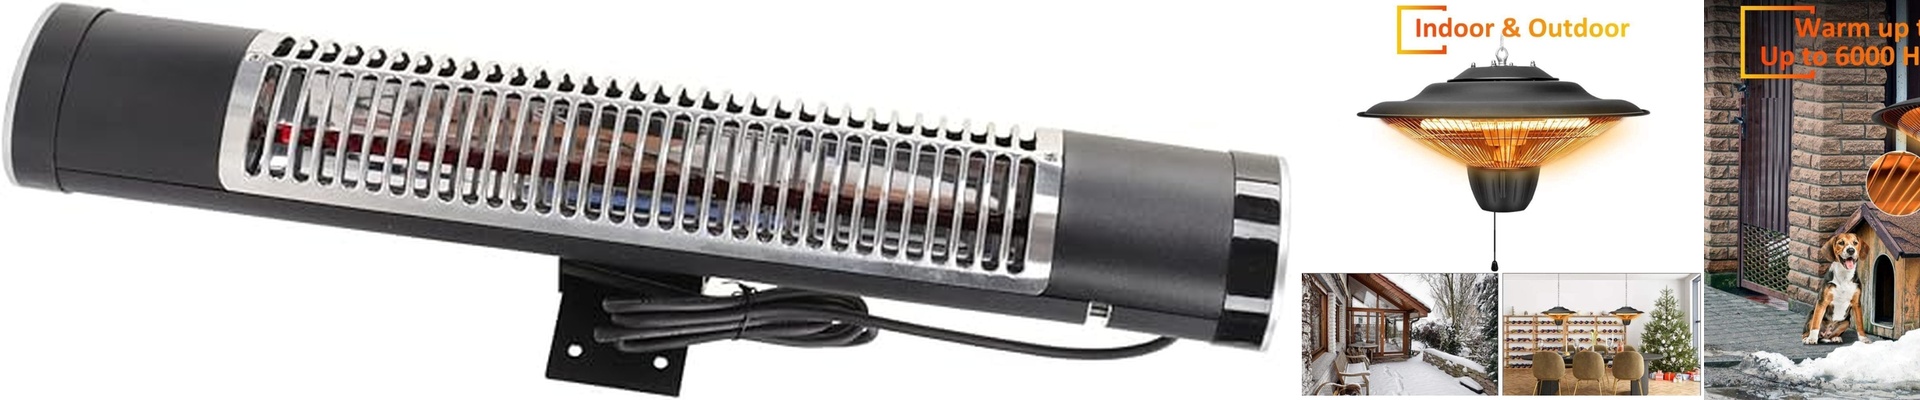

Keeping Your Bathroom Heaters Safe (And Your Toes Warm)
Putting an infrared heater in a bathroom isn’t as simple as just slapping a waterproof cover on it. You’ve got high-wattage heat on one side and constant steam and splashes on the other. It’s a recipe for trouble if you don’t get the insulation right. When we aim for an IPX4 rating, we aren’t just checking a box—we’re making sure water can’t get in from any angle and that the electricity stays exactly where it belongs. The problem with steam Here is the thing about water vapor: it gets everywhere. It slips through standard housings like they aren’t even there. Once that steam turns into condensation on the electrical terminals, you get “tracking.” These are tiny current leaks that can trip your breakers or, in a worst-case scenario, make the outer casing live. To stop that, we use sealed ceramic insulators and silicone gaskets on the terminal blocks. It creates a solid wall between the live power and the frame you’re touching. Making it last We don’t want a heater that works great for a month and then quits. That’s why we use thicker quartz glass and beef up the seals where the wires meet the lamp. We also wrap the wiring in high-temperature fluoropolymer sleeving. Why? Because constant heating and cooling usually makes cheap insulation crack. This stuff holds up. And just to be absolutely sure, we put every unit through a “high-pot” test. We blast it with a voltage much higher than it’ll ever see in your home. If there’s even one tiny pinhole in the insulation, we’ll find it. A few things to keep in mind There’s always a trade-off. A proper IPX4 seal adds some bulk. The gaskets and housings take up more room, so don’t try to cram these into a tight ceiling void without double-checking your clearance first. Plus, because the unit is sealed tight to keep the water out, the heat doesn’t escape the internal wiring as easily. You’ll want to make sure your wiring gauge can handle the heat inside that enclosure, otherwise, you’re risking a burnout.