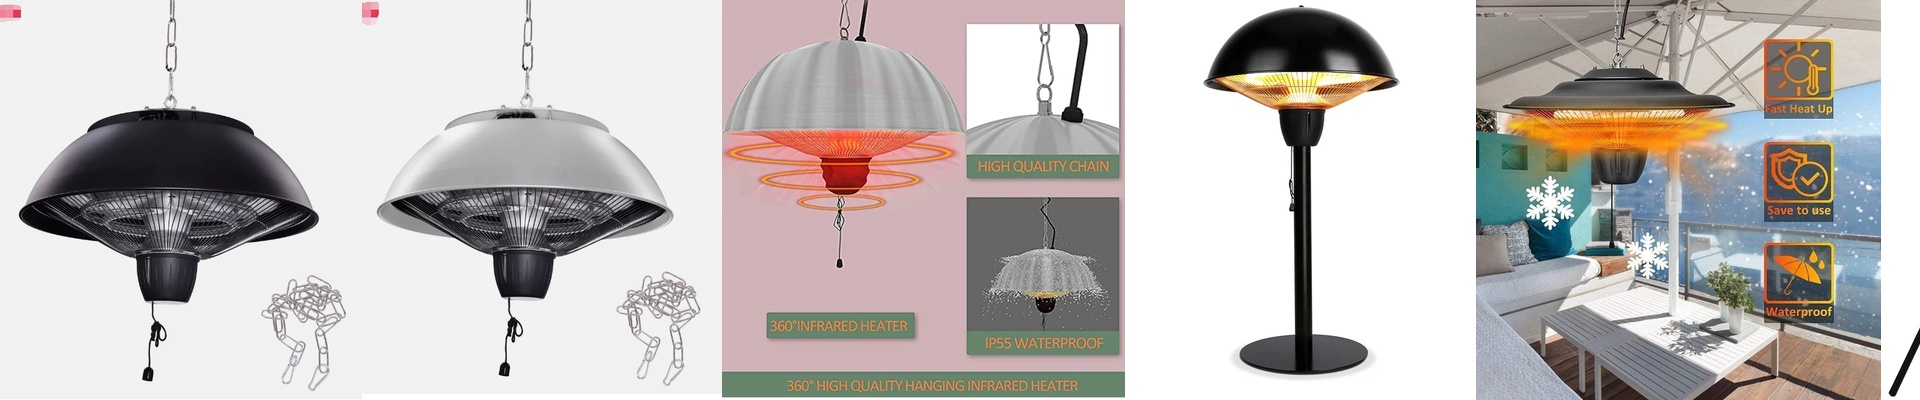
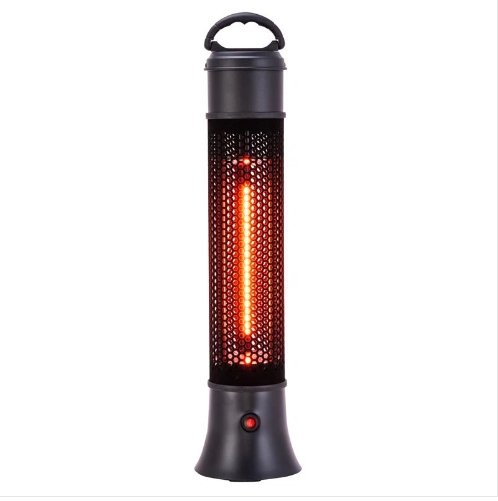
How to actually make your outdoor heaters last
When you’re putting together an outdoor or semi-outdoor patio, it’s easy to worry about how often you’ll be turning the heater on and off. But honestly? That’s not what kills these things. The real villains are moisture and dust. Think about it: you’ve got a quartz tube glowing hot, and suddenly a few drops of rain or some heavy fog hit it. That’s a recipe for thermal shock. The glass cracks, the unit dies, and you’re left shivering in the cold. Not a great vibe. Dealing with the damp We’ve spent a lot of time on the sealing and the housings. We want to keep water far away from the electrical terminals. Most “outdoor” heaters on the market fail because moisture just sneaks into the wiring. It causes shorts or eats away at the contacts. Our approach is simpler: block the spray and the splashes. Keep the guts dry, and the heater stays happy. Then there’s the fog. It’s sneakier than rain. Those tiny micro-droplets create a thin film on the heating element, which means the heat doesn’t spread evenly. To fix that, we use specific coatings and a bit of smart airflow. It stops the tube from getting those annoying spots and keeps the warmth steady. The balancing act Here’s the tricky part: you can’t just seal a heater in a plastic box. If you do, you’ll trap all that heat inside and literally fry your own wiring. It’s a bit of a tug-of-war between protection and breathing room. We use calculated venting paths and baffles. It’s basically a way to let the heat escape while making sure rain can’t just drip straight onto the elements. What this means for you At the end of the day, this just means you aren’t spending every spring replacing burnt-out tubes. By stopping the corrosion and preventing those cracks in the quartz, the whole thing just lasts longer. You get a reliable source of heat without the headache of constant maintenance. Just one tip: double-check your mounting height. Follow the safety specs so you don’t accidentally toast your ceiling.